Hey there! As a commercial plywood supplier, I've seen firsthand how important it is to know how to install commercial plywood properly. Whether you're a DIY enthusiast or a professional contractor, getting the installation right can make all the difference in the longevity and performance of your project. So, let's dive into the step-by-step process of installing commercial plywood.
Step 1: Preparation
Before you start installing commercial plywood, you need to make sure you have all the necessary tools and materials. Here's a list of what you'll need:
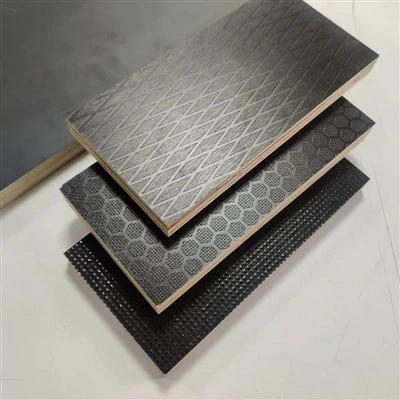
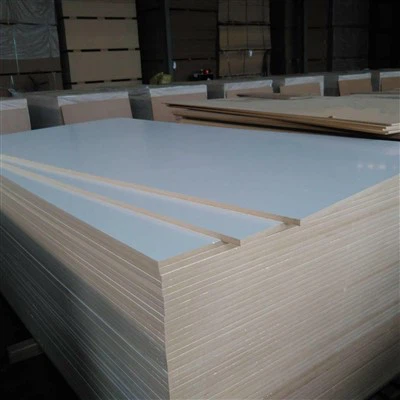
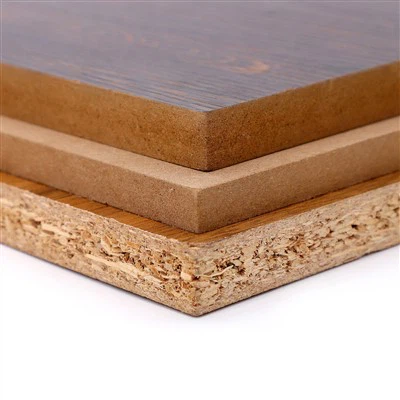
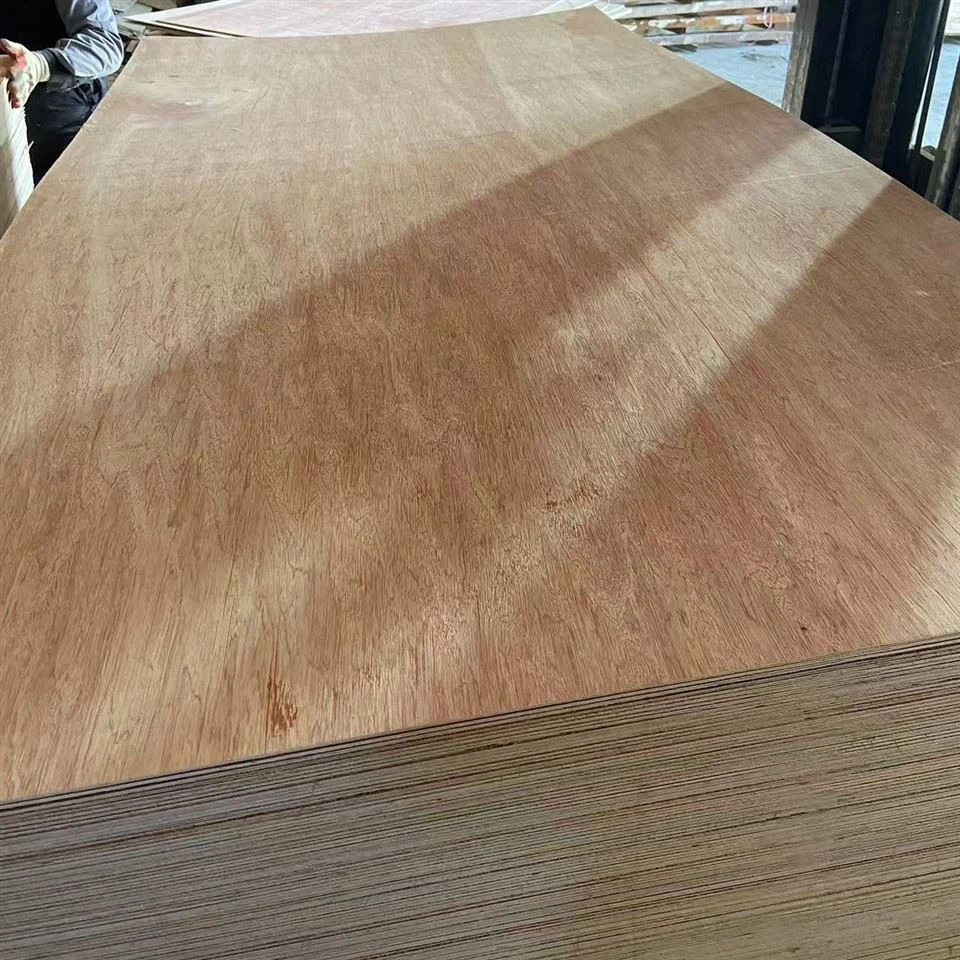
- Commercial plywood sheets: You can find High Quality Cheap Plywood For China Factory and Linyi Factory High Quality Commercial Plywood on our website. These are great options for various projects.
- Measuring tape
- Circular saw or table saw
- Drill
- Screws or nails
- Hammer or screw gun
- Safety goggles
- Dust mask
- Work gloves
Once you have all your tools and materials, you need to prepare the installation area. Make sure the surface is clean, dry, and level. Remove any debris, dirt, or old paint. If the surface is uneven, you may need to use a leveling compound to create a smooth base.
Step 2: Measuring and Cutting
The next step is to measure and cut the plywood sheets to fit your project. Use a measuring tape to measure the dimensions of the area where you'll be installing the plywood. Mark the measurements on the plywood sheets using a pencil or a straightedge.
When cutting the plywood, it's important to use a sharp blade to ensure clean cuts. You can use a circular saw or a table saw to cut the plywood. Make sure to follow the manufacturer's instructions for your saw and wear safety goggles and a dust mask to protect yourself from flying debris.
Step 3: Installation
Now that you have your plywood sheets cut to size, it's time to start installing them. There are two main methods for installing commercial plywood: using screws or using nails.
Using Screws
If you choose to use screws, you'll need to pre-drill holes in the plywood to prevent it from splitting. Use a drill bit that's slightly smaller than the diameter of the screws. Space the holes about 6 to 8 inches apart along the edges of the plywood and about 12 inches apart in the center.
Once you've pre-drilled the holes, align the plywood sheet with the installation area and secure it in place using a screw gun or a drill. Start by screwing in the screws at the corners and then work your way along the edges and across the center of the sheet. Make sure the screws are flush with the surface of the plywood.
Using Nails
If you choose to use nails, you'll need to use a hammer or a nail gun to secure the plywood in place. Space the nails about 6 to 8 inches apart along the edges of the plywood and about 12 inches apart in the center. Make sure the nails are driven in straight and flush with the surface of the plywood.
Step 4: Finishing
After you've installed all the plywood sheets, you may need to finish the edges to give your project a professional look. You can use a router or a sanding block to smooth the edges of the plywood. You can also apply a wood filler to any gaps or holes in the plywood and sand it smooth.
If you want to protect the plywood from moisture and wear, you can apply a finish such as paint, stain, or varnish. Make sure to follow the manufacturer's instructions for the finish you choose and allow it to dry completely before using the project.
Step 5: Maintenance
Once you've installed and finished your commercial plywood project, it's important to maintain it properly to ensure its longevity and performance. Here are some tips for maintaining commercial plywood:
- Keep the plywood clean and dry. Wipe up any spills or moisture immediately to prevent the plywood from warping or rotting.
- Avoid exposing the plywood to direct sunlight or extreme temperatures. This can cause the plywood to fade, crack, or warp.
- Use a furniture pad or a rug to protect the plywood from scratches and dents.
- If the plywood gets dirty, you can clean it with a mild soap and water solution. Avoid using abrasive cleaners or scrubbers, as these can damage the finish.
Conclusion
Installing commercial plywood may seem like a daunting task, but with the right tools, materials, and knowledge, it can be a rewarding DIY project. By following the steps outlined in this blog post, you can install commercial plywood like a pro and create a beautiful and functional project that will last for years to come.
If you're interested in purchasing commercial plywood for your next project, check out our website for High Quality Cheap Plywood For China Factory, Linyi Factory High Quality Commercial Plywood, and Pine Plywood For Best Price. We offer a wide range of commercial plywood products at competitive prices. If you have any questions or need help choosing the right plywood for your project, don't hesitate to contact us. We're here to help you every step of the way.

References
- Woodworkers Journal. (n.d.). How to Install Plywood. Retrieved from [Website URL]
- Family Handyman. (n.d.). How to Cut and Install Plywood. Retrieved from [Website URL]
- This Old House. (n.d.). How to Install Plywood Subfloor. Retrieved from [Website URL]